If you feel nervous, say to yourself “Goof plug, goof plug, goof plug.”
Plan
- Measure your tubing needs and get at least an idea of your parts list.
- Decide on your watering strategy—point-source (using dripper buttons/emitters) or broadcast (using micro-sprayers). Do not mix the two types on the same watering zone.
Start at the Water Source
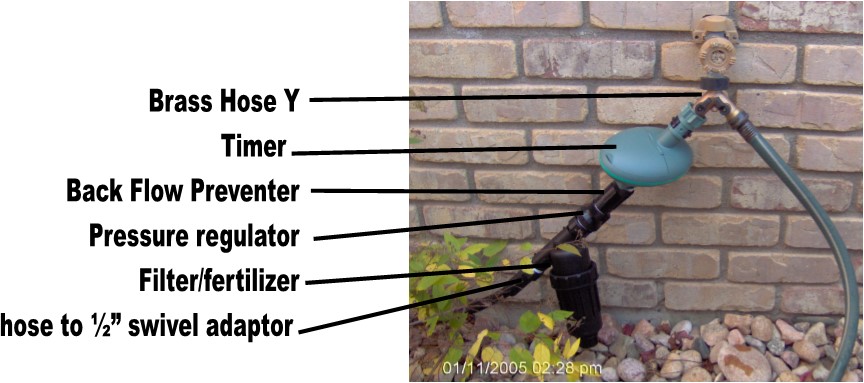
- Convert an existing valve by adding a pressure regulator and new tubing.
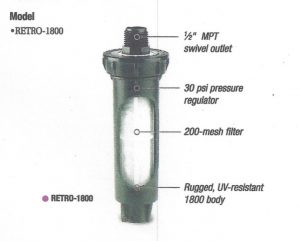
- Convert an existing zone on your sprinkler system at the sprinkler head by using a retro-fit kit. This will only work if the entire zone is being converted or eliminated. This illustration is from the Rainbird catalog; Model RETRO-1800 replaces an existing sprinkler canister.
- Use the hose spigot with a battery operated timer. There are many brands of hose-end timers. I like the DIG Model 9001 best.
Run the “main” water line
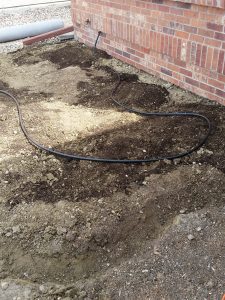
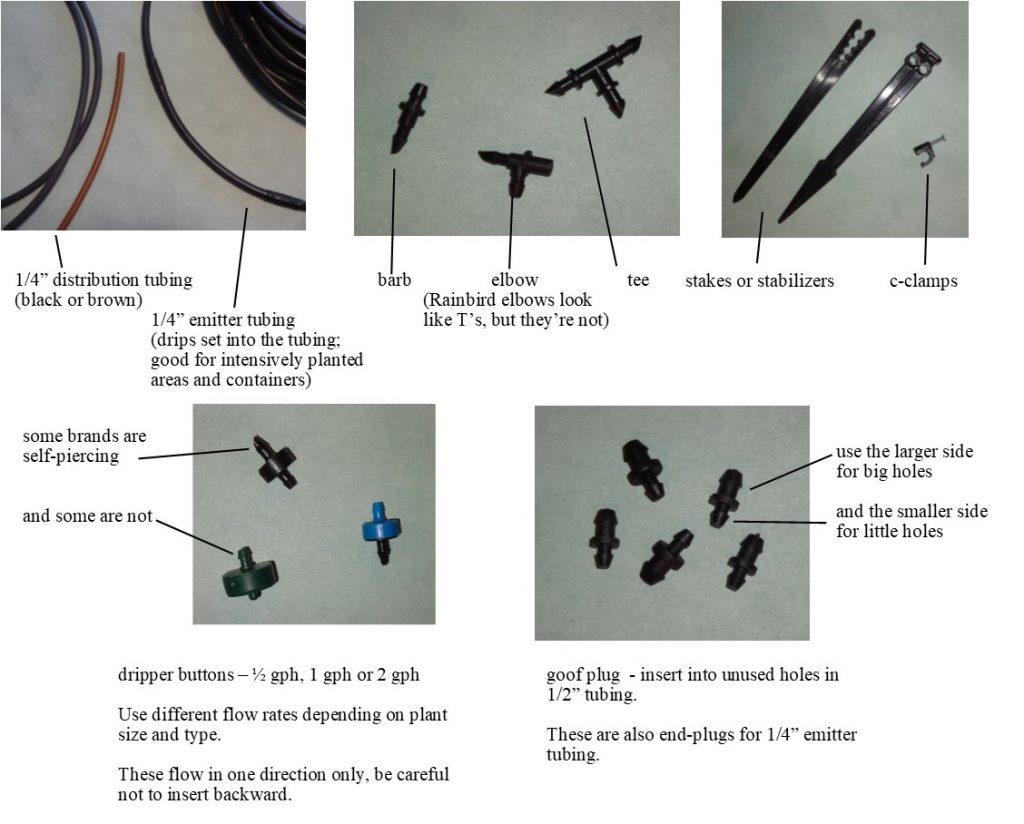
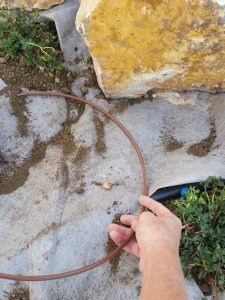
- ½” black drip hose. This is not soaker hose. This hose can simply lay across the surface of the soil, it doesn’t need to be buried. Snake it around where the plants will be so that it is always close to the plants. (You can see I intend to attach it to the spigot.)
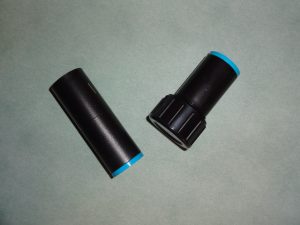
- Adjust the 1/2” line around the planting area as necessary and cap the end. These accessories are insert/compression fittings. Clamps are not necessary with this type. Hold a lighter to the end of the tubing for just a few seconds to make it slightly more malleable and then insert into the fitting.
Coupler and End Cap 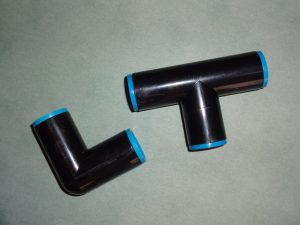
Elbow and Tee 
Stake, Staple and C-Clamp
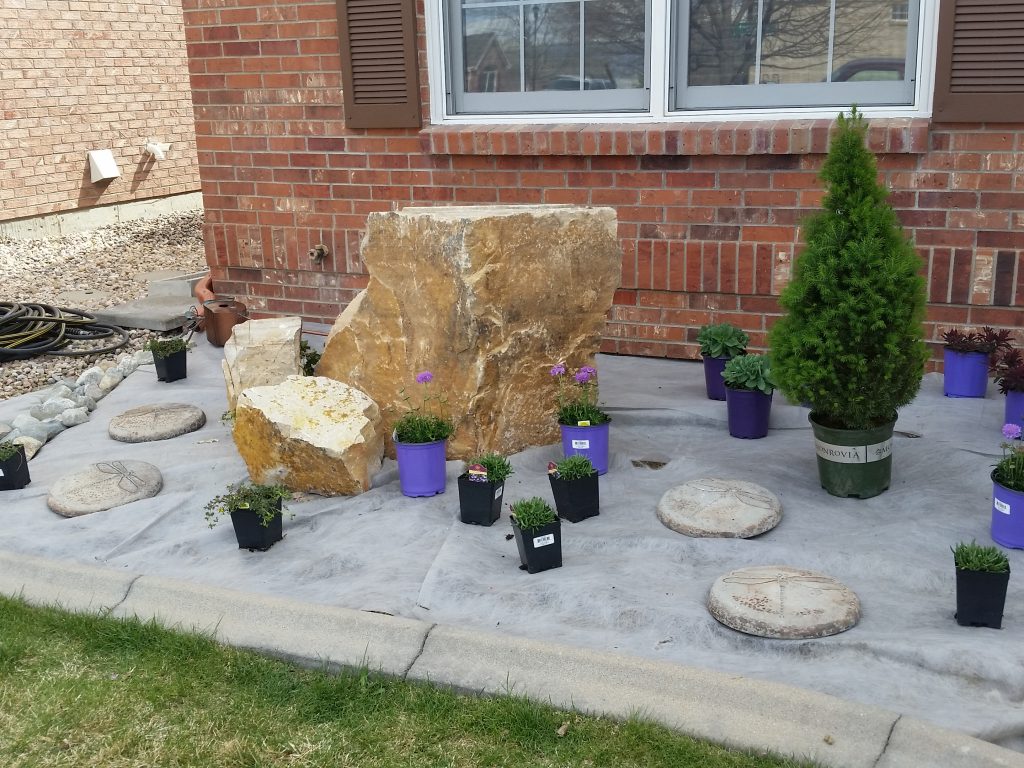
Set up the planting area
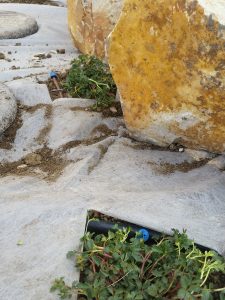
For this area, we covered the soil with landscape fabric. We placed a boulder and some companion rocks, being careful not to put the boulder on top of the drip line. Next, I placed the plants according to the planting plan.
Add water distribution as you plant
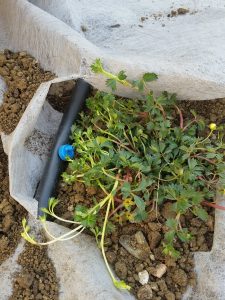
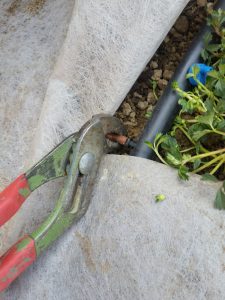
- In this spot, the 1/2” tubing is right next to the new plant, so a button dripper was inserted directly into the 1/2” tube.
Finished!
Finished!
When all of the plants are planted, cover the area with groundcover — rocks or mulch. The drip irrigation doesn’t show at all!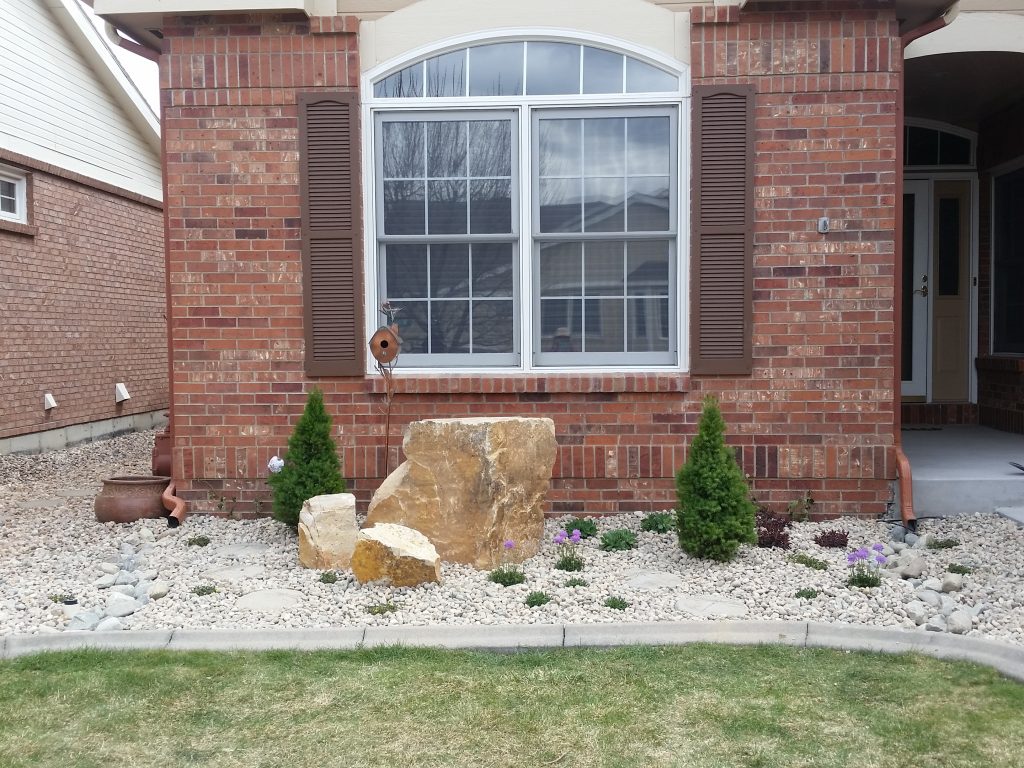
Tools:
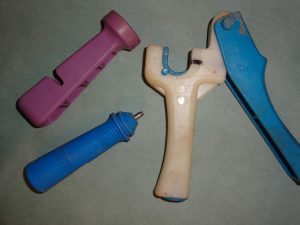
- hole punch
- scissors
- pipe cutter (You can use a box-knife.)
- lighter
- pliers
What could go wrong?
Drip in the ½ inch hose.
Replace that section of hose using ½ inch couplers or insert a goof plug.
Some plants need to be moved, some plants died or you added more plants.
Remove the barb from the ½ inch hose and insert a goof plug. To move the plants or add new ones, just punch a new hole in the ½” tube and insert the barb or dripper button there.
Plants look droopy and distressed.
If only one or two plants are distressed, check the connectors.
The plants may need different flow dripper buttons.
The plants may need more water (especially in the heat of July and August). Conversely, the plants may need less water. Change the watering schedule.
